blog verification

Monday, April 23, 2012

Backyard Arbor

To finish out the massive amount of work that we have done in our back yard, just felt we needed an arbor for an entry into the yard and to hide a work area and pool pump. I built this from 5/4 pressure treated lumber. The slats were ripped from the material and routed on two sides. Love working with the heavier material. Tried my best to hide as much of the joinery as I could. The little lady helping me is my 94 year old mom. I purposely kept is tall with full 8 ft material to give the look we wanted next to the deck. Plan to stain same as fence and plant grapevines for the foliage.
Built the risers and the cap in my shop


My 94 yr old mom checking the work


Thursday, December 29, 2011

Portable Garment Rack

My daughter does children's clothes that she sells at a farmer's market in Las Cruces, NM and online @ www.etsy.com/shop/fancypantsbyjamee . She called me and asked if I could design something we could build for her to be able to display her clothes and yet portable enough to her minivan. This is what I came up with. Cost for an original 8' section is running about $55 for materials. To add another 4' section should cost about $20 for materials. She can add as many sections as she wants.

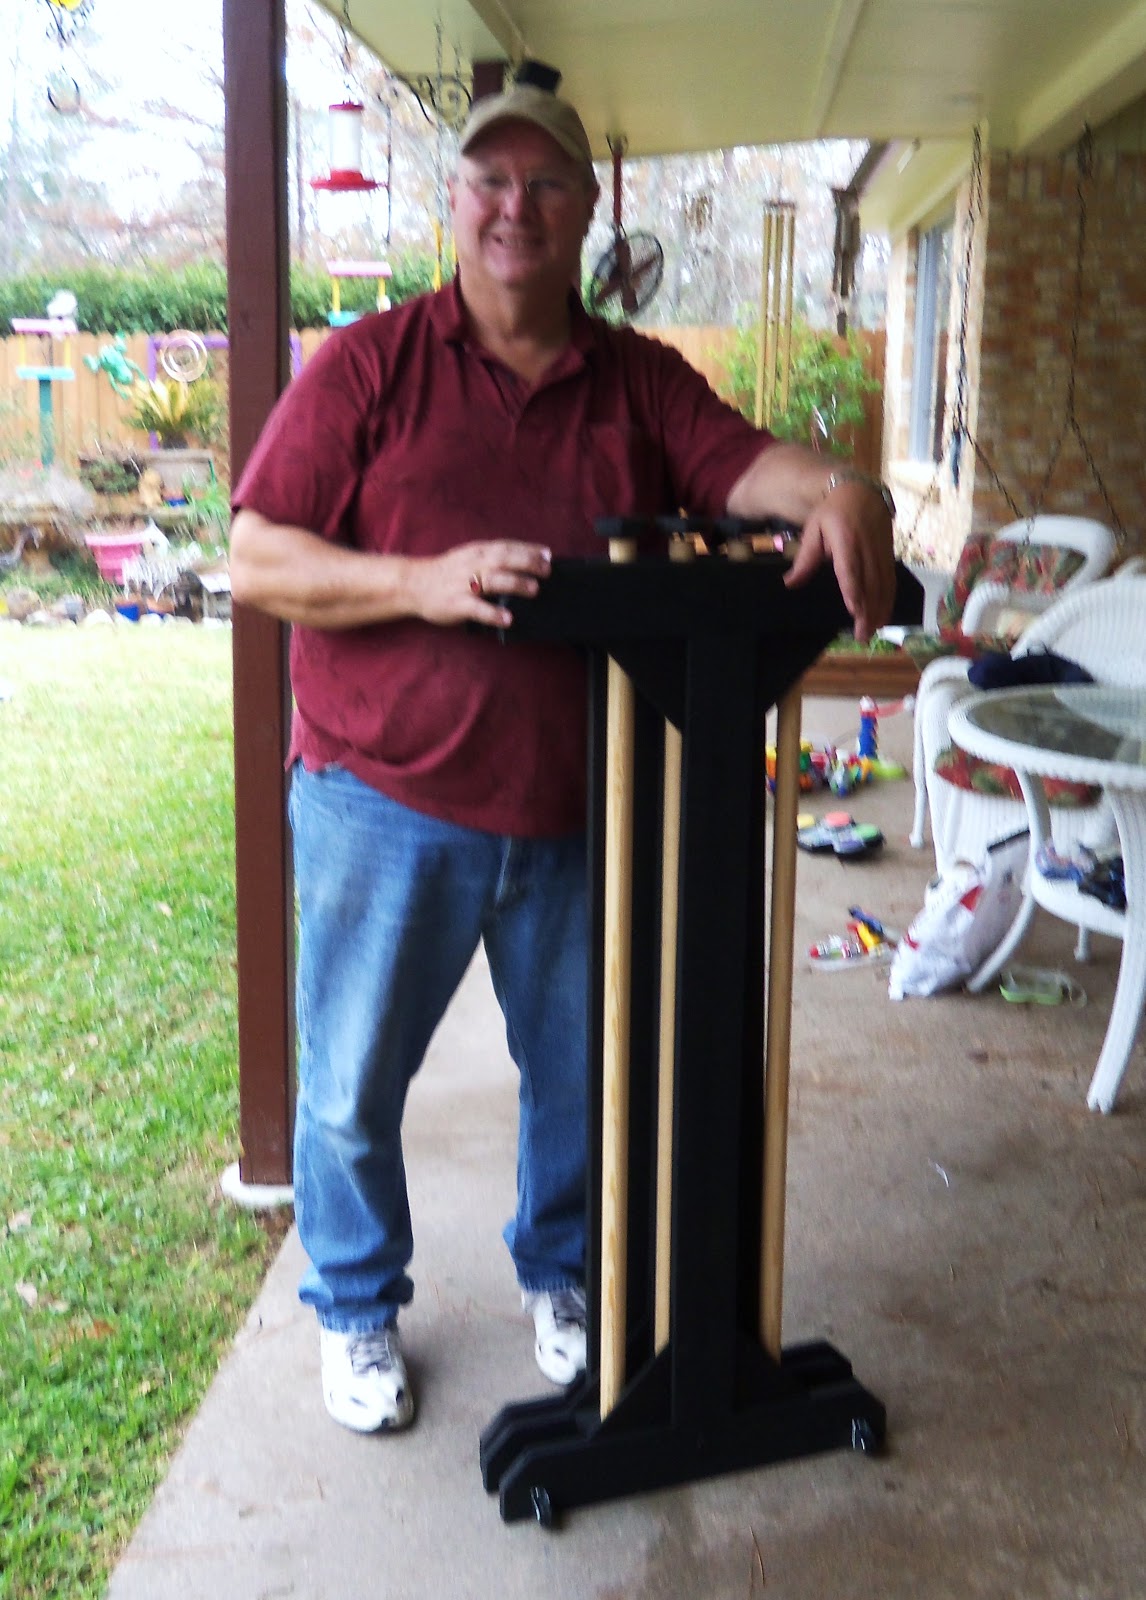
Here I am standing with a 16' section and you will notice under my arm is the 16' section after it has been nested together for travel. 


So here are the pics I took as I put it together.

Hunting down all the different pieces and parts and trying to keep the cost down was a lot of fun, but time consuming. 


Decided to use 1/4" luan ply for gussets and a way to joint the riser to the end pieces. Glue only.


While building this I had to keep in mind the portability of it. So making a way to nest these parts was also a consideration.

 
A little ingenuity for a quick connect is the use of a cheap shelving bracket cut to fit.


A single 4' section works good, but we want to be able to add section to it. In this version we have three risers that attach by the two hanger rods and the stabilizer middle section.


Wednesday, October 12, 2011

Stairway Bunk Bed

As a result of my granddaughter and grandson sharing a room we decided to build a bunk bed. After researching all the different kinds, I decided to build this staircase bunk bed to give easy access and more drawer storage. I used birch ply and select pine. Turned out even better than I expected. My son and daughter-in-law will paint or stain it to finish. 


Tuesday, December 28, 2010

Susan's Toy Box


 These were the plans that I made on my HomePro drafting program. Note the plywood layout at top to figure the amount of material I needed.


Dressed it up with the feet and base trim as well as the recess panels on the top book case. I raised the book case to make the door to hinge to the top of the book case. Case is 30" wide by 40" tall by 18" wide at bottom and 10-1/2" at top.

Sunday, November 7, 2010

Crib Chair

I appoligize that I did not take any pictures of this project in the making. This is one of two hall or foyer chairs that I made from my children's crib. We moved this crib from Indiana, to California, to Texas, to California and back to Texas each time my wondering why we continued to haul this thing all over the country knowing we were through having children. Finally, Ruby told me what she wanted and we created two heirlooms with history.
I took the foot and head board and made them the backs of the chairs. The side rails were just cut to size to make the side arm rests. Simply built a box that would fit inside and included a hinged top for storage. Not a hard project, but one that my grown children can pass on and use.

Monday, September 13, 2010


Volleyball Hitting Platform

Hitting platform for my daughter who coaches volley ball. She needed something she could carry in the back of her Tahoe and could easily put together without a lot of work. I decided to use some 3/4" plywood for the sub base and the platform. I wrapped the platform with some soft white pine 1 x 4 and eased the edges with a 1/4" round over bit. Covered it with a rubber mat that I glued to the top and took pieces of the rubber mat to apply to the bottom of the feet of the platform sub base. 


The two pieces of the sub base slide together to form an X that the platform 1 x 4 sides engulf and gives the whole platform excellent stability. Put together it is approximately 18" to top. 


Cut hand holds and eased the holes with round over bit in router. The pieces have the hand holds located so as to be able to carry both with one hand. 

Thursday, March 11, 2010

New out feed table

I just finished this table to use as an out feed and work table. Its design is taken from a woodworking book I have. With sides down it is only 17" wide and is on casters to be able to move around. When opened it is a full 38" x 72". I used birch ply and select pine for its construction. It will also be a small cut off storage and some tool storage.